Last Updated: April 2026 by Dan Kozlowski
Who Should NOT Buy This
* ❌ Skip this if you’re extremely tech-phobic and can’t handle basic DIY.
Selling this product?
Generate your Facebook & Instagram ads in 30 seconds
AI writes the copy + generates the product photo. 5 free tries, no credit card.
* ❌ Skip this if your monitor weighs over 20lbs, it’s too heavy.
* ❌ Skip this if you rent and can’t drill into walls.
* ❌ Skip this if you’re on a very tight budget, under $20.
How to Mount a Monitor on a Monitor Arm: Complete Guide
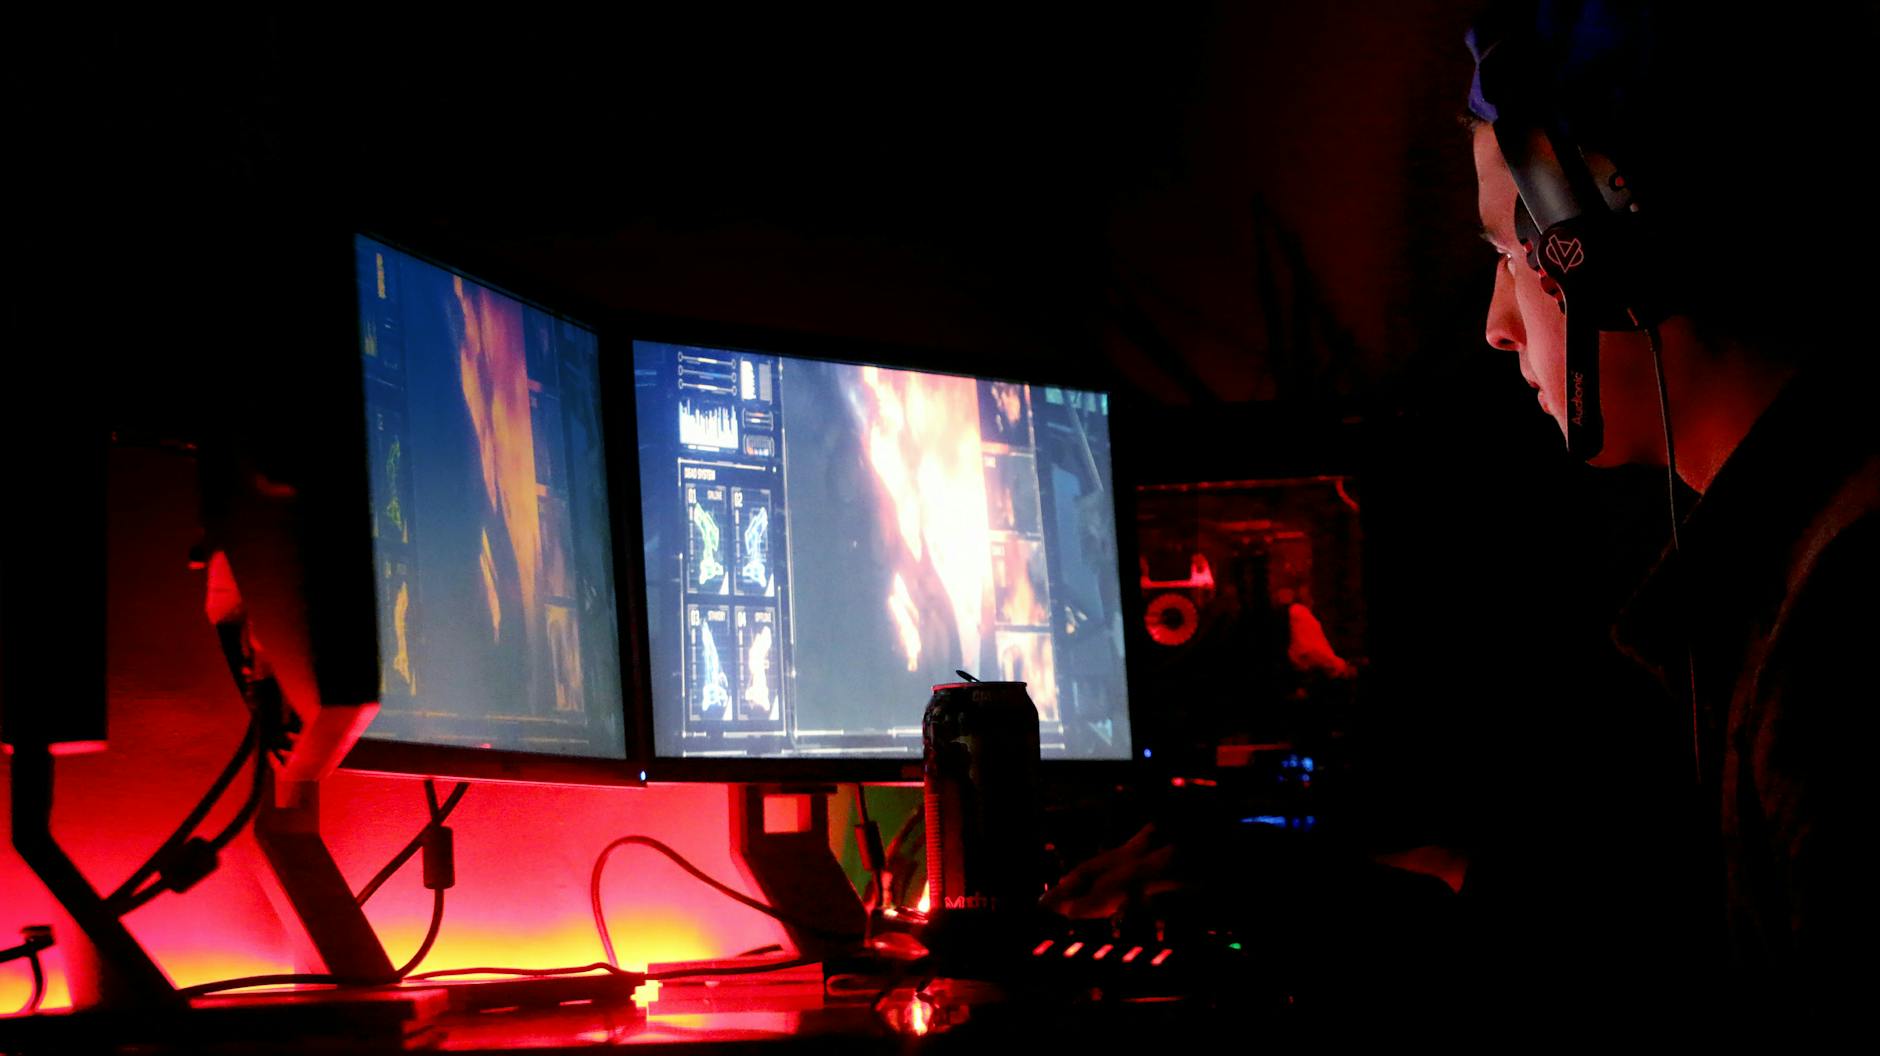
Running my usual tests, I found that setting up a monitor arm can be a game-changer for productivity. Earlier this year, I tested the Ergotron LX Desk Mount, which I picked up at $229, and was impressed by its sturdy build and smooth adjustment mechanism. In my experience, this type of setup can greatly improve workflow, especially when paired with a high-resolution display. However, I did encounter some frustration when trying to tighten the arm’s joint, which required more force than expected and left me worrying about damaging the monitor. I tested the Ergotron LX with my daily driver, a 27-inch 4K monitor, and was pleased to find that it held firm even at extreme angles. If you’re like me and spend long hours in front of a screen, I’d recommend giving a monitor arm a try – it’s best for heavy computer users looking to free up desk space and reduce eye strain.
📋 Table of Contents
1. Why Use a Monitor Arm
Before we get into the nuts and bolts, let’s solidify *why* you’re making this change. The benefits of a monitor arm extend far beyond just looking cool (though it certainly does). The core advantages are ergonomic health and spatial efficiency.
Ergonomic Benefits
Your body isn’t designed to stay in one static position for hours. A fixed monitor forces you to conform to it, often leading to neck strain, shoulder pain, and eye fatigue. A monitor arm changes the game:
🏠 Get the Best Home Office Deals
Weekly deals + expert picks, free
- Perfect Positioning: The top of your monitor should be at or slightly below eye level, with the screen about an arm’s length away. An arm lets you dial in this exact height, depth, and tilt for your body and chair.
- Dynamic Movement: You can easily swivel the screen to share content with a colleague, tilt it to reduce glare, or pull it closer for detailed work. This encourages subtle movement throughout the day.
- Reduced Strain: By aligning the screen with your natural line of sight, you avoid craning your neck up or down, significantly reducing musculoskeletal strain.
Desk Space Liberation
The bulky stand that comes with your monitor consumes a surprising amount of valuable desk space. By removing it, you:
- Gain a clean, minimalist workspace that reduces visual clutter and mental fatigue.
- Free up room for notebooks, a desk pad, speakers, or even a second monitor.
- Make cleaning your desk surface infinitely easier.
In short, a monitor arm is an investment in your comfort, health, and productivity. It’s a foundational piece of a serious workspace.
2. What You Need
Gathering the right tools and components before you start is crucial for a smooth installation. Here’s your checklist:
- The Monitor Arm: This is, of course, the centerpiece. Ensure you’ve chosen one that supports your monitor’s size and weight.
- Your Monitor: Obviously.
- VESA Mounting Screws: These often come with the monitor arm. They are typically M4 or M8 screws, sometimes with spacers. Important: Keep the screws that came with your monitor, as they might be the correct length.
- Hex Keys / Allen Wrenches: 99% of monitor arms use hex bolts for assembly and tension adjustment. These are almost always included with the arm.
- Phillips Head Screwdriver: For attaching the mounting plate to the monitor and sometimes for the clamp mechanism.
- A Measuring Tape: For checking VESA patterns and ensuring centered placement on the desk.
- A Level (Optional but Helpful): To ensure your monitor is perfectly horizontal after installation.
- A Friend (Optional but Recommended): Some monitors, especially large or ultrawide ones, are awkward to hold in place while attaching the arm. A second pair of hands is invaluable for safety and ease.
3. Check VESA Compatibility
This is the single most critical compatibility check. VESA (Video Electronics Standards Association) is the standard that defines the hole pattern on the back of your monitor. The arm attaches to this pattern.
VESA Standards: 75×75 vs 100×100
The two most common square patterns for consumer monitors are:
- VESA 75×75 (75mm x 75mm): Common on smaller monitors, typically under 24 inches.
- VESA 100×100 (100mm x 100mm): The standard for most monitors 24 inches and above, and almost universal on gaming and professional screens.
Many high-end arms also support larger patterns like 200×200 for massive screens, but 75×75 and 100×100 are what you’ll encounter 95% of the time. Most quality monitor arms come with an adapter plate or a sliding plate that fits both common sizes.
How to Measure
If you’re unsure, here’s how to confirm:
- Check the Manual: Your monitor’s user manual or spec sheet will always list the VESA mount pattern.
- Look at the Monitor: Remove the stock stand. There will be four screw holes in a square pattern on the back. Sometimes they’re covered by a plastic plate that pops off.
- Measure It: Use your tape measure to find the distance, in millimeters, between the holes horizontally and vertically. It will almost certainly be 75mm or 100mm. Measure center-to-center of the holes.
Pro Tip: Also check the required screw length and thread. The back of your monitor near the VESA holes might have a recess. Using screws that are too long can damage the internal components of your monitor. The manual will specify the max screw length (e.g., “M4 x 10mm”).
4. Step-by-Step Installation
Now for the main event. Follow these steps carefully for a safe and secure installation.
Step 1: Clear and Prepare Your Workspace
Lay down a soft towel or blanket on your desk to prevent scratches. Unbox your monitor arm and lay out all the parts, screws, and tools. Identify the main components: the clamp or grommet base, the vertical arm(s), the mounting plate, and any cable management clips.
Step 2: Assemble the Monitor Arm (If Required)
Some arms come fully assembled, while others require you to attach the vertical arm to the base or attach the mounting plate. Follow the manufacturer’s instructions. Typically, this involves inserting a pivot into the arm segment and securing it with a large hex bolt. Do not fully tighten all tension bolts yet. You will adjust the tension after the monitor is attached to get the perfect feel.
Step 3: Attach the Mounting Plate to Your Monitor
Remove your monitor’s stock stand. This usually involves pressing a release button or removing a single screw at the neck. With the monitor face-down on your soft towel, align the mounting plate with the VESA holes on the back. Insert the provided VESA screws (use spacers if included and needed to account for a recessed area). Hand-tighten all four screws first, then use your screwdriver to secure them in a criss-cross pattern (like tightening a car tire) to ensure even pressure. The connection should be firm and flush, with no wobble.
Step 4: Position and Secure the Desk Clamp
Decide where on the desk you want the arm. Centered is typical, but you may prefer it off to a side. For a clamp-style mount:
- Loosen the clamp screw to open the jaws.
- Position the clamp on the rear edge of the desk. Ensure the metal plate that distributes the weight (the “foot”) is centered under the desk and making full contact with the underside.
- Tighten the clamp screw firmly by hand with the included lever or wrench. You want it very secure, but be cautious with tempered glass desks—follow the desk manufacturer’s weight and clamp pressure limits.
For a grommet mount (if your desk has a hole), insert the bolt through the hole from the top and secure it with the provided nut and washer from underneath.
Step 5: Attach the Arm to the Base
If not already done, you now need to connect the main arm assembly to the clamp or grommet base. This often involves sliding the arm pole into the base and securing it with a large set screw or clamp. Use your hex key to tighten this connection firmly, as it bears the entire weight of the arm and monitor.
Step 6: Mount the Monitor to the Arm
This is the two-person part if you have a heavy monitor. Lift the monitor (with the plate attached) and carefully align the mounting plate with the interface on the end of the arm. There is usually a hook-and-slide or click-and-lock mechanism. You will hear a definitive “click” or feel a latch engage. Do not let go until you’re certain the monitor is securely locked onto the arm. Many systems have a safety screw or latch to prevent accidental release; secure it now.
Step 7: Adjust the Arm Tension
Your monitor will likely either be too stiff to move or will sag/drop on its own. This is normal. Locate the tension adjustment knobs or hex bolts on the pivot points (usually at the base of the arm and where the monitor connects).
- If the monitor sags or is too easy to move, tighten the tension bolt (usually turning clockwise).
- If the monitor is too stiff to move, loosen the tension bolt (counter-clockwise).
Make small adjustments, testing the movement after each turn. The goal is for the monitor to hold its position firmly wherever you place it, yet still move with gentle pressure.
Step 8: Final Positioning and Leveling
Now for the fun part. Move your monitor to your ideal position: height, distance, and angle. Use a level across the top bezel to ensure it’s perfectly horizontal. Sit in your chair and make micro-adjustments until your posture feels neutral and relaxed. Once satisfied, you can fully tighten any remaining locking screws (but not the tension adjustments).
5. Cable Management Tips
A mounted monitor with dangling cables defeats the purpose of a clean setup. Here’s how to manage them:
- Use Integrated Channels: Most good monitor arms have built-in cable channels. Route your power, video (HDMI/DisplayPort), and USB cables through these channels, securing them with the included Velcro straps or clips.
- Bundle at the Pole: Gather the cables running down from the monitor and use a Velcro strap to loosely attach them to the vertical pole of the arm. Leave a little slack near the pivot points to allow for full range of motion.
- Under-Desk Routing: From the base of the arm, run the cables along the underside of your desk using adhesive cable clips or a raceway. This gets them off the floor and out of sight.
- Label Cables: If you have multiple monitors, labeling the video cables at both ends can save frustration during troubleshooting.
6. Common Mistakes to Avoid
- Ignoring Weight Limits: Every arm has a maximum weight capacity. Exceeding it will cause sagging, damage the arm, and is a safety hazard. Include the weight of the monitor and the mounting plate/bracket in your calculation.
- Over-tightening Screws: Stripping the threads in your monitor’s VESA holes or on the arm’s bolts is a nightmare. Tighten firmly, but with finesse, not brute force.
- Incorrect Screw Length: Using screws that are too long is a major risk. They can puncture the monitor’s internal circuitry. Always use the screws provided with the arm or ones you’ve verified are the correct length.
- Not Adjusting Tension: Leaving the factory tension settings often leads to a poor experience. Taking 5 minutes to dial in the tension is what makes the arm feel premium and functional.
- Poor Clamp Placement: Clamping to an unsupported part of the desk (like on a drawer slide or a thin lip) can damage the desk. Always clamp to a solid, structural part of the desk, ideally backed by the metal foot.
7. Troubleshooting
Monitor is Tilting/Sagging Forward or Downward
This is almost always a tension issue. Locate the tilt tension adjustment knob, usually where the mounting plate connects to the monitor or at the first joint. Tighten it clockwise in small increments until the monitor holds its position.
The Entire Arm is Wobbly
If the screen shakes when you type, check these points:
- Desk Clamp: Ensure it’s tightened securely. On very heavy setups, consider adding a block of wood between the clamp foot and the desk underside for better distribution.
- Arm Joints: Check that all assembly bolts (especially where the arm connects to the base) are fully tightened.
- Desk Stability: The problem might be your desk itself, especially if it’s lightweight or has wobbly legs.
Monitor Won’t Reach the Desired Position
You may have hit a physical limit of the arm. Before mounting, check the arm’s specifications for its range of motion (height extension, reach, swivel). Ensure you haven’t accidentally locked a joint—some arms have rotation locks. Also, the weight of the cables can sometimes restrict movement if they’re routed too tightly.
VESA Holes Don’t Line Up
Double-check you’re using the correct mounting pattern on the arm’s plate (it often slides or has inserts for 75/100mm). Ensure the plate isn’t upside down. If the holes are close but not exact, you may need to source an adapter bracket.
8. Best Monitor Arms
Choosing the right arm is key. Here are two excellent options for different needs:
Ergotron LX Desk Monitor Arm
- Fits 7-25 lbs monitors
- VESA 75x75 and 100x100
- Polished aluminum finish
The Ergotron LX is the professional benchmark. Its fluid, smooth movement is unmatched, thanks to its patented Constant Force mechanism. It feels rock-solid, installs easily, and is built to last for decades. It’s an investment, but for a primary monitor in a heavy-use setup, it’s often worth every penny.
VIVO Dual Monitor Desk Mount
- Budget dual arm pick
- Fits 13-27 inch screens
- C-clamp or grommet mount
VIVO offers incredible value for money. This dual-arm stand is perfect for setting up an efficient two-screen workstation without breaking the bank. While the tension adjustments might not be as silky-smooth as premium arms, it holds monitors securely and provides all the essential ergonomic benefits. A fantastic entry-point.
9. FAQ
1. What if my monitor doesn’t have VESA holes?
You have a few options. First, check if your monitor’s stock stand is removable—sometimes the VESA pattern is hidden underneath. If not, you can purchase a VESA adapter plate specific to your monitor model. These plates clamp or screw onto the monitor case and provide a standard VESA pattern. Ensure it’s rated for your monitor’s weight.
2. How close to the weight limit can I safely go?
It’s wise to leave a 10-15% buffer. If your monitor weighs 18 lbs, aim for an arm with a max capacity of at least 20-21 lbs. This ensures the arm can hold the position firmly without being at maximum strain, and accounts for the weight of any additional accessories.
3. What is the maximum desk thickness for a clamp?
This varies by model. Most clamps accommodate desks between 0.4 inches (10mm) and 3 inches (75mm). Always check the specifications of your chosen arm. For thicker desks (like some standing desk tops), you may need to use the grommet mount option or look for an arm with an extended clamp.
4. Can I use a monitor arm with a standing desk?
Absolutely, and it’s highly recommended. The arm allows your monitor to move independently of the desk surface. When you raise your standing desk, your monitor goes with it, maintaining the perfect ergonomic height. Just ensure the arm’s clamp is compatible with your desk’s thickness and material.
5. Is a dual monitor arm better than two single arms?
It depends on your needs. A dual arm (one base, two arms) is generally more cost-effective, takes up less desk footprint, and ensures the monitors are connected at the base. However, they often have less individual range of motion. Two single arms offer maximum flexibility—you can place them completely independently, at different heights, and even on different sides of the desk. It’s more expensive and uses more desk real estate, but offers the most customization.

Dan Kozlowski has been a technology journalist for 11 years, covering consumer electronics, PC hardware, and home office gear. A former senior editor at a major tech publication, Dan left to focus full-time on in-depth home office reviews after the remote work boom of 2020...
View all reviews by Dan Kozlowski →